Well, maybe this guide isn't JUST aimed at FoodGawker. But since FoodGawker is one of the best recipe sharing websites around at this moment of writing, it's very interesting to learn how you can improve your photos in such a way that they get accepted by them. We've compiled a list of 10 tips you can use to improve your photos. Let's get started!
But first, let me give you a little background information on why we are putting this page up. We are food bloggers, we cook, publish and share recipes every single day. This means that when we think about recipes all day long, so we REALLY like to get them accepted by 'the big guys' out there. I'm talking about websites like FoodGawker, TasteSpotting, Food photo gallery and a bunch of others.
When we first started out our food blog in 2014, we would cook delicious meals, shoot some pictures of them, edit and publish them. These pictures almost never got accepted by FoodGawker, and we found it very frustrating at the time. We would get feedback like "Primary reason: Low lighting and/or underexposed" or "Composition too tight".
WHAT THE HECK DOES THAT EVEN MEAN?! We tried increasing the exposure and adding more vibrance. Not a chance. This was very de-motivating, but eventually we did learn from this feedback.
The recipe you make might look super delicious at the time, but it might not be so super awesome when you compare them against other FoodGawker submissions. Why? We analyzed the feedback provided by FoodGawker and devised a simple strategy which actually worked! Primary ingredient?
MAGIC! .. well maybe not, but it's true of you call hard work magic. We've compiled a list (yay!) of ten things you can use to improve your food photography in such a way that they get accepted more often than not by FoodGawker.
- If you just started out with food blogging (read here how you can create a food blog yourself), getting rejected is probably due to the fact that you don't completely understand the intricate details of artificial lighting yet, so it's best to avoid them. Shoot pictures only during the daytime. The reason behind this is very simple, food just looks better when shot in daylight. When shooting pictures using your (kitchen) lights, you'll most likely end up with yellow-ish shots. When shooting with natural lightning, you can avoid the "bad exposure / lightning issues" feedback from FoodGawker.
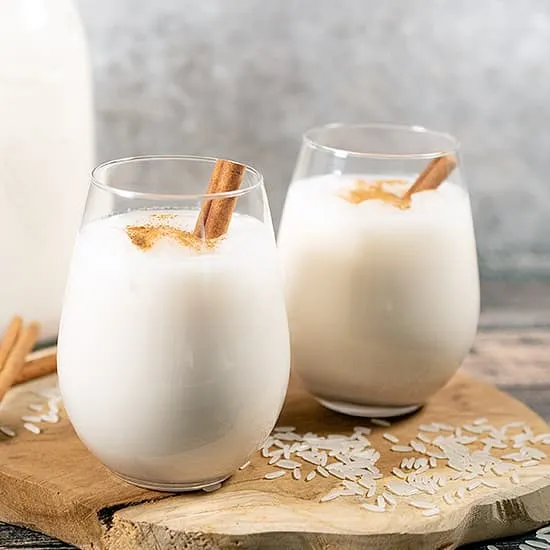
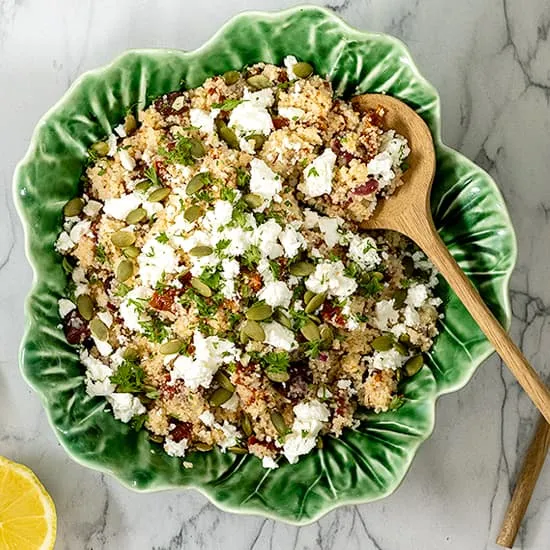
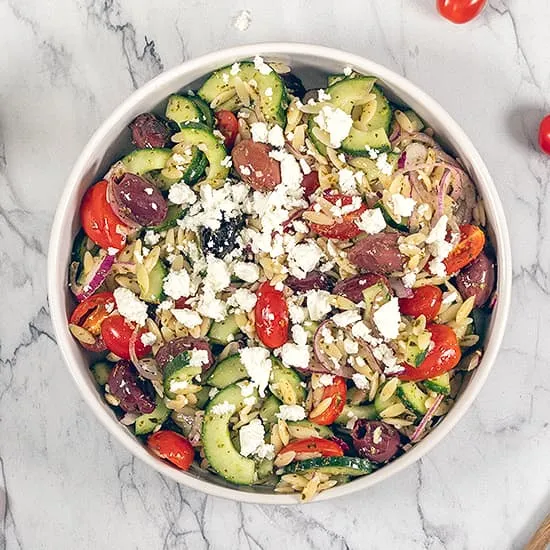
- Take photo's from a bird's-eye point of view, right from top. Your dishes surely look amazing when taken from different angles, but try taking them from the top down. You can use those for submitting to FoodGawker to avoid the "awkward angle" feedback. Shooting from this angle is almost fool-proof, depending on the type of dish you are shooting. Not every type of food looks good when shot from above, while others actually do. For example: when we took a picture of a sandwich from the top down, it just didn't capture all of the tasteful details. When we took the shot from a 40 degrees angle, while the sandwich was in front of the camera, it looked way better! The same does not apply when taking pictures of soup, since soup is flat, there are no advantages when shooting from the front. Try out which angles work best with different kinds of food, and you'll soon notice quite a difference in the FoodGawker acceptance rate.
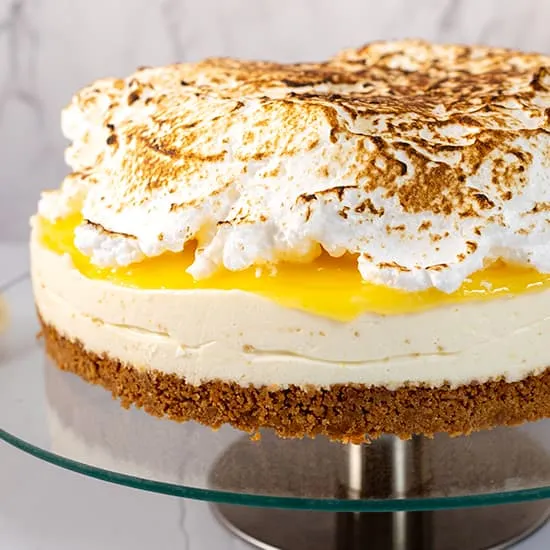
- Use props next to your dishes. Food looks better when accompanied with the right prop, but don't add more than 2 or 3 props otherwise the subject (your dish) will not get all of the attention it needs. If you are not very good at food styling, simply add a napkin or a piece of cutlery next to it. Try to crop the picture when editing afterwards by cutting off a small portion of the food. Usually the rule of thirds can be applied when editing pictures, this way you can avoid the feedback "composition" or "composition too tight".
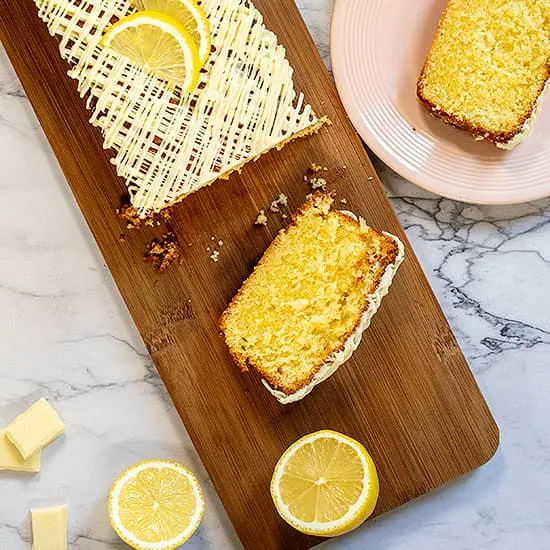
- Stand back from the dish while taking pictures. When taking pictures too close to the actual subject it can be difficult or even impossible to crop or rotate the shot. Better take a step back and take the picture from a little bit more distance, you can always zoom in, but not out. Simply focus on what's important, but from a little distance. This prevents the FoodGawker feedback "food cropped too much".
- Don't submit non-square images to FoodGawker. FoodGawker requires a square image and we found that using a size of 500 x 500 pixels works best for submission. Crop the photos using a tool like Adobe Photoshop, Gimp or even Microsoft Paint. Align the food just right within the square box. THis prevents rejection with the reason "image quality". This is one of the most common complaints and feedback from food bloggers, so now you know what to do!
- Submit clear and sharp images. Blurry, dark or faded out images will simply get rejected instantly. FoodGawker wants you to submit clear images, with the dish as a clear subject of the picture. After cropping and resizing your image (to 500 x 500 pixels), do sharpen your image, but not too much. Sharpening the image too much can make the image look distorted and makes the whole dish look less appealing. Again, use a tool like Adobe Photoshop or Gimp to sharpen your images before submitting it to FoodGawker. When submitting clear and sharp images you can prevent the feedback "image not sharp".
- Make the image have amazing, vibrant colors that are close to reality. There is nothing wrong with pimping the colors a bit, definitely when you shot them in the winter since that can give the photo a blueish color. Summertime is great for shooting pictures, but there is also a downsize. The downside is that the colors in your photo can be washed away with too much light. Use a light diffuser to prevent this problem in the summertime. Not sure how to do this ? All decent photo editing tools have a feature that allows you to automatically adjust the levels and colors of your images. Adjust the saturation in such a way that your food looks very appetizing. Usually a range between plus 5 to plus 10 works best, apply these tips and you can avoid the feedback "white balance issues".
- Brightness and saturation of your image if one of the most important improvements you can make to your food pictures. Make sure to adjust the brightness of your images before submitting them to FoodGawker. Make a small change between minus 5 to plus 5 based on when whether your image usually looks the best. Adjust the saturation of your image in such a way that the food looks colorful, but not over saturated. Same rule applies for this setting, usually a change between minus 5 to plus 5 looks best. We found that when applying these settings to your image, it usually prevents the feedback "exposure issues".
- Edit your photos using a professional photo editing tool, like Adobe Photoshop. These days you can get Adobe Photoshop for just 10 bucks a month, and that is not much of an investment if you ask me. Never overuse photo editing though, avoid getting rejections for "photo overworked" when staying true to the reality. If you feel that one of your images needs more work than the other one, choose not to edit that picture and go with the other one instead.
- One of the biggest improvements you can make in getting your image to be accepted by FoodGawker is by simply getting better at food photography. We find that Lindsay and Bjork's Tasty Food Photography eBook teaches you so much about food photography. These are the master minds behind pinchofyum.com. Check out the eBook by clicking on this link, or by clicking on the image below. If you are already an advanced photo editor, sign up for the Foodblogger pro program and get tons of video content about not only improving your food photography skills, but also how you can improve your food blog! Check out foodblogger pro here.Start and grow your food blog with Food Blogger Pro today.

The above tips on getting your picture accepted by FoodGawker does not explain that you need an expensive camera, because you don't. While it's true that pictures tend to look better and more professional when shot using a (full frame) DSLR, it's not a requirement. Simply buying an expensive camera does not make you an amazing photographer. It takes time and effort to teach yourself how to shoot pictures, it might seem simple but you'll notice that there are always ways of improving the overall quality.
If you
still cannot get your image to be accepted by FoodGawker, just let us know by using the comment form on this page or by sending us an email. If you send your image as an attachment we can take a look at it for you and determine what you can do to improve the overall quality so it will get accepted by FoodGawker! Other suggestions and feedback are also welcome, and we hope you learnt enough about how you can improve your image so they will get accepted by FoodGawker!
BTW: our FoodGawker profile is right here:
https://foodgawker.com/post/archive/ohmydish/