

Make your own walnut liqueur
It is not hard to make your very own walnut liqueur, but it will take some time to get this beautiful color and full flavour profile.
Recipe make your own walnut liqueur
Ingredients
Share this recipe via:
This is what you need

Made by Véronique
Published at 2020-09-17, this recipe is for 10 persons and takes 40 minutes.
Founder of Ohmydish (since 2014), she prefers to spend all day in the kitchen. Once working in the hospitality industry as an independent chef, she loves helping you gain confidence in the kitchen. With her easy-to-follow recipes, handy tips, and cooking knowledge, you'll make the most delicious dishes yourself! The recipes are accessible to everyone, from beginners to advanced home cooks.
Updated at: 2025-07-19
You can sterilize the mason jar and little bottles by cooking them in boiling water for a very clean result.
Preparation – 20 minutes + a 3-month waiting period
Suggestion: you can use all kinds of different alcohol for this recipe, such as jenever, vodka, eau de vie, etc.
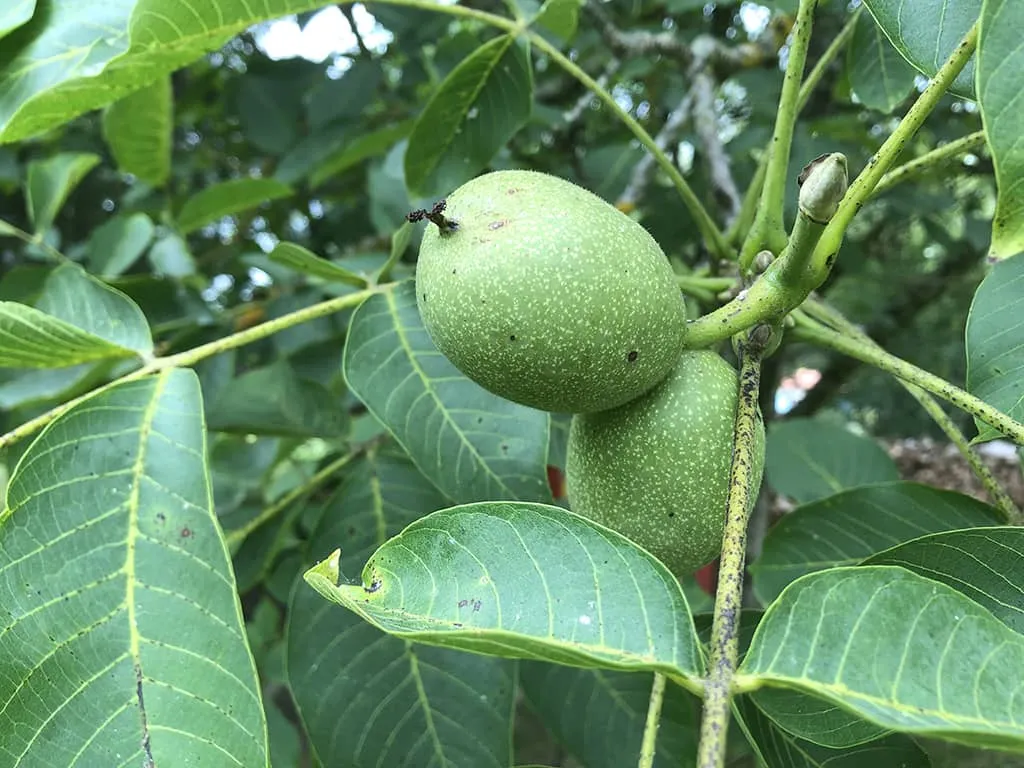
You will need unripe, green walnuts to make this liqueur, so the best time to make this delicious walnut liqueur is near the end of June to early July.
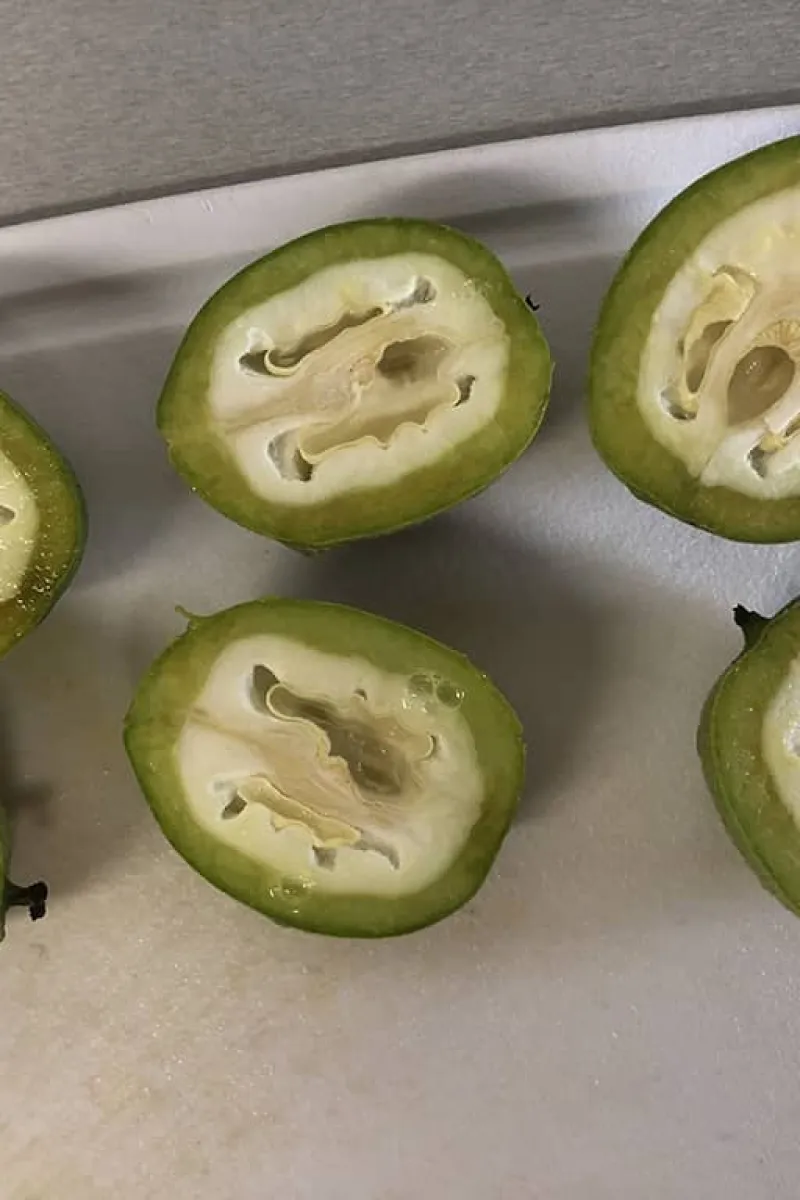
The walnuts may stain your hands, so you might want to wear a pair of gloves. Wash the green walnuts and cut them in half, or in quarters.
Place the nuts together with the spices in a large mason jar. Add the liquor and seal the lid.
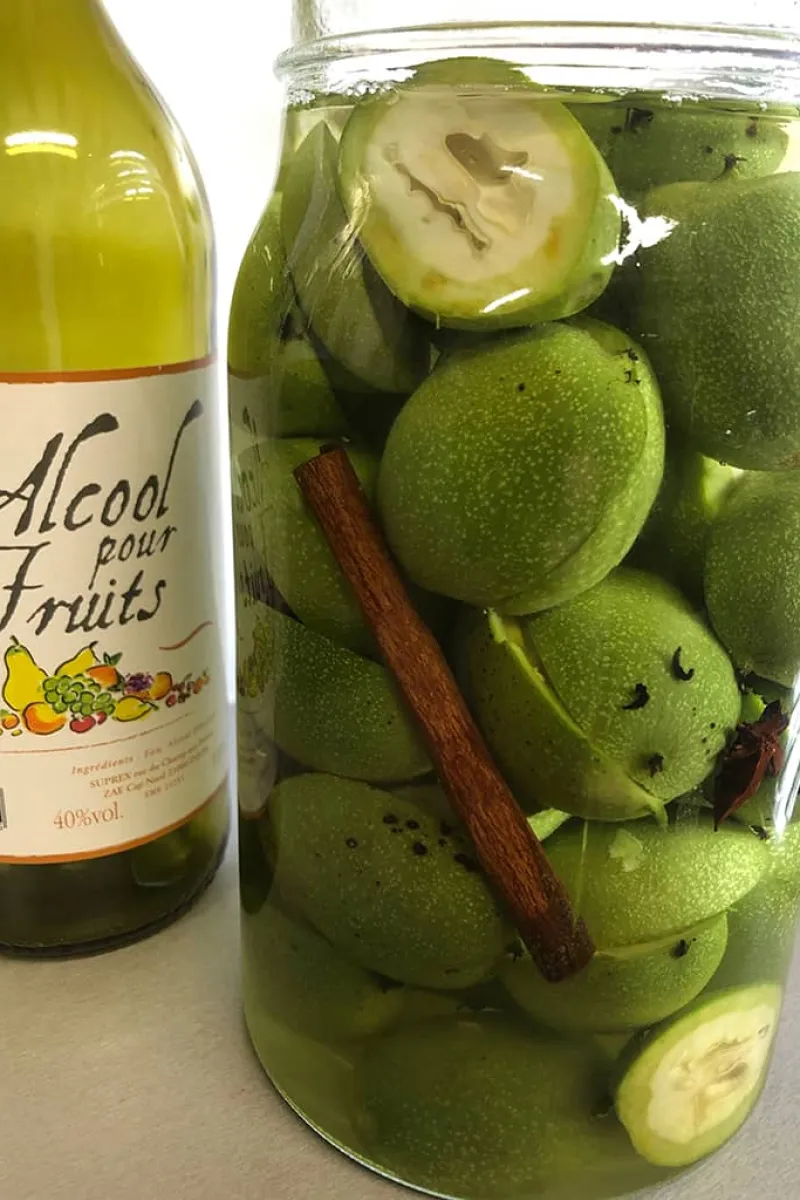
Shake the jar every now and then over the course of six weeks. You will notice the liquor will become increasingly darker until it’s black – that’s exactly what you want.
After six weeks, add 300 grams of sugar to the mixture and give it another six weeks to rest. Shake the jar frequently so the sugar can dissolve in the liquid.
Final results of the walnut liqueur
Once the sugar is fully dissolved and the liqueur has turned completely black, you’re ready to sieve the mixture. Remember to follow the suggested times above; by the time you will finish the mixture, it will have been resting for approximately 3 months.
Use a very fine sieve to get the liquid as clear as possible – you may want to use a cheesecloth during this process.

Divide the walnut liqueur over the small sterile bottles and seal them tightly; you can now safely save the liqueur for a long time. It will taste its very best in winter, during the holiday season, because the flavours will have developed optimally by that time.
It will be a delicious way to heat up from the cold outside or serve it with a scoop of vanilla ice cream as a dessert. Enjoy!
What do you think of this?
5 ratingsWhat about these delicious recipes?


Would you like to leave a comment?
Your email address will not be published. Required fields are marked with *


