

Made by Véronique
Published at 2016-07-11, this recipe is for 20 persons and takes 1 hours.
Founder of Ohmydish (since 2014), she prefers to spend all day in the kitchen. Once working in the hospitality industry as an independent chef, she loves helping you gain confidence in the kitchen. With her easy-to-follow recipes, handy tips, and cooking knowledge, you'll make the most delicious dishes yourself! The recipes are accessible to everyone, from beginners to advanced home cooks.
Updated at: 2025-07-19
tip: the easiest way to melt chocolate is using chocolate chips (callets) but you can also use chocolate bars and chop them up into small pieces.
First we're going to create an awesome caramel filling. It has to cool off completely before you can fill the chocolates, so keep that in mind and take enough time for this recipe. Add sugar to the medium-sized pan and caramelize the sugar on low heat, don't stir!
Wait a few minutes, but don't leave your pan out of your sight, the sugar will burn very quickly. When the sugar is beautifully brown, add the butter and cream.
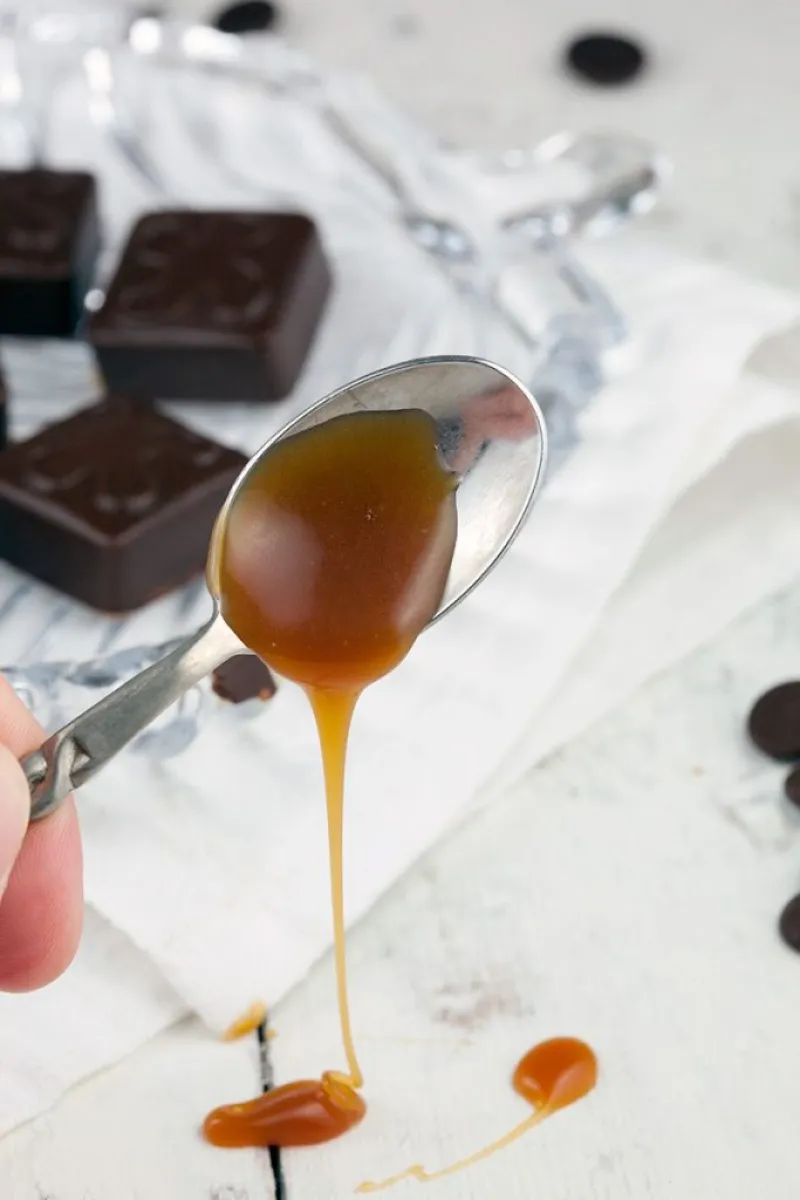
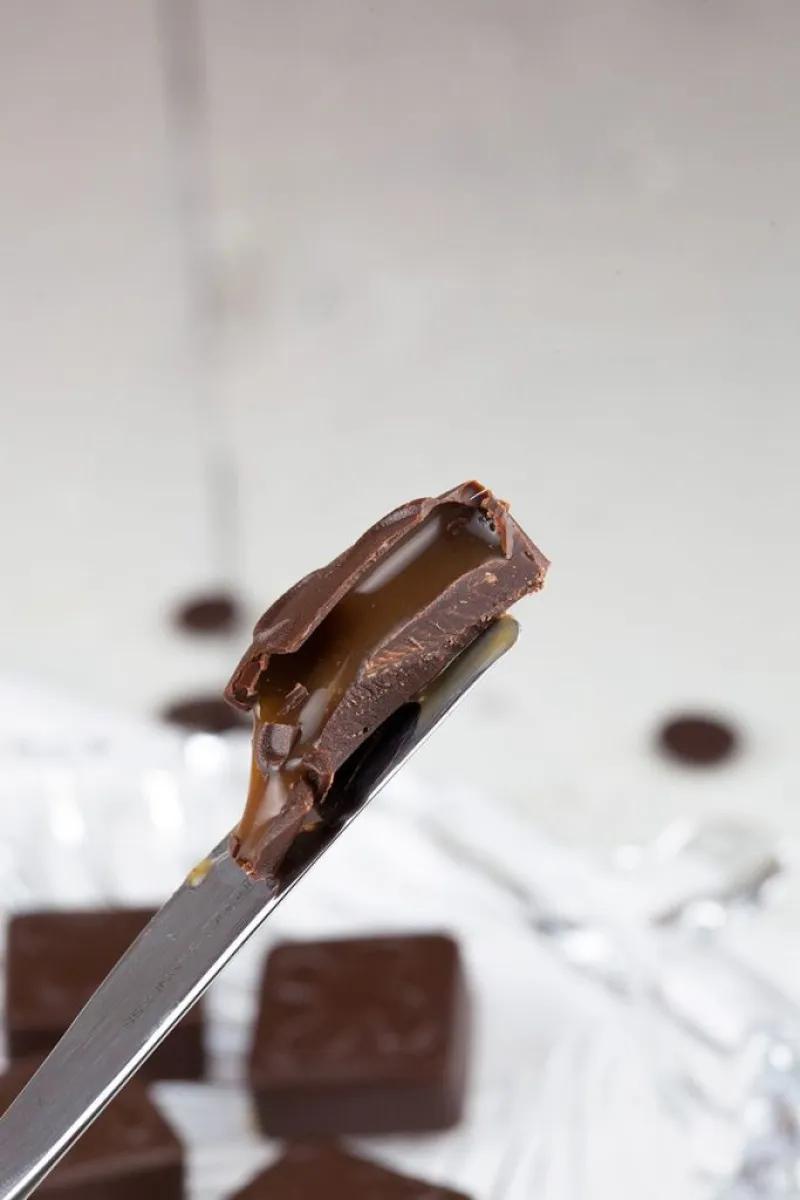
be careful, caramel is very, very hot! after a few minutes, mix the caramel with glucose and let it cool off completely. the filling should be smooth and creamy, like in the picture below.
You could seriously write a book about chocolate, about the temperatures and why that's so important. But we wanted to keep it simple, so everyone can understand.
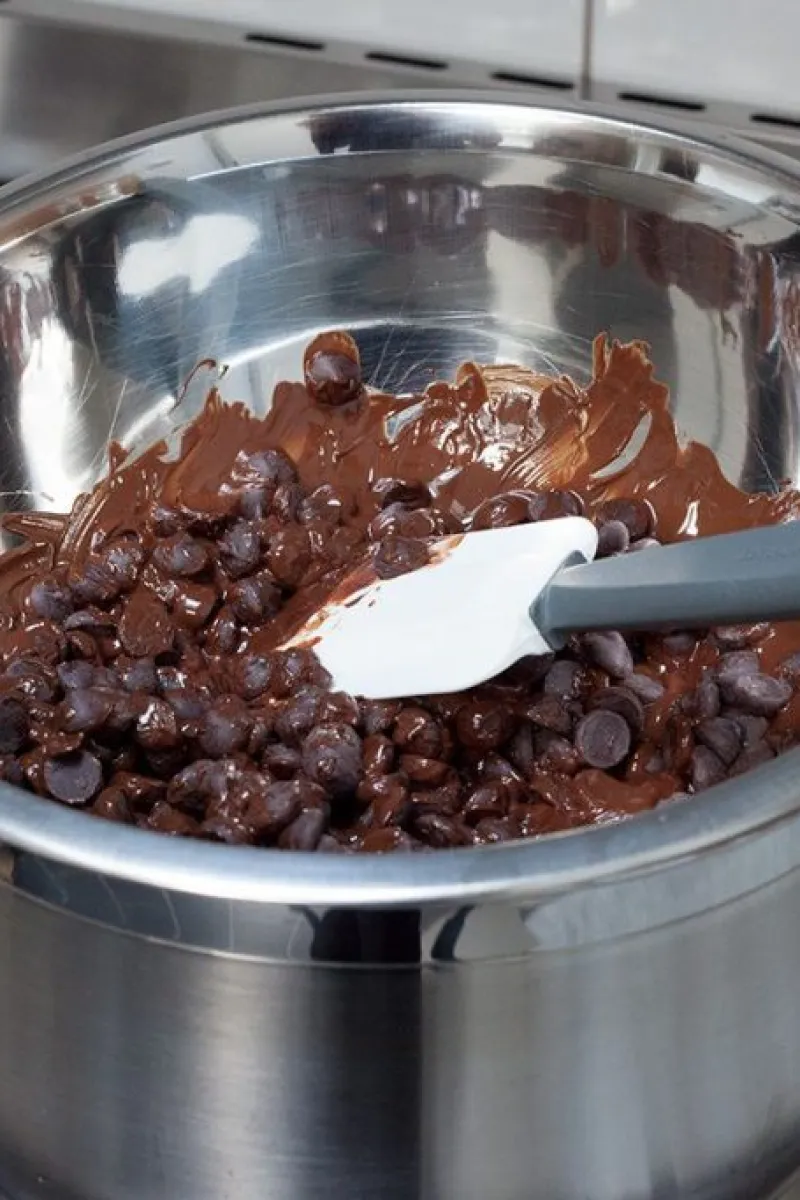
Melting chocolate is easy when you're using a bain-marie, a pan filled with a small layer of water with a bowl on top. The steam from the water will slowly melt or cook whatever is inside of the bowl.
No burning and the change of things getting too hot is lower than directly on the stove. Get your kitchen equipment ready before you start to melt the chocolate, so you can get it going right away.
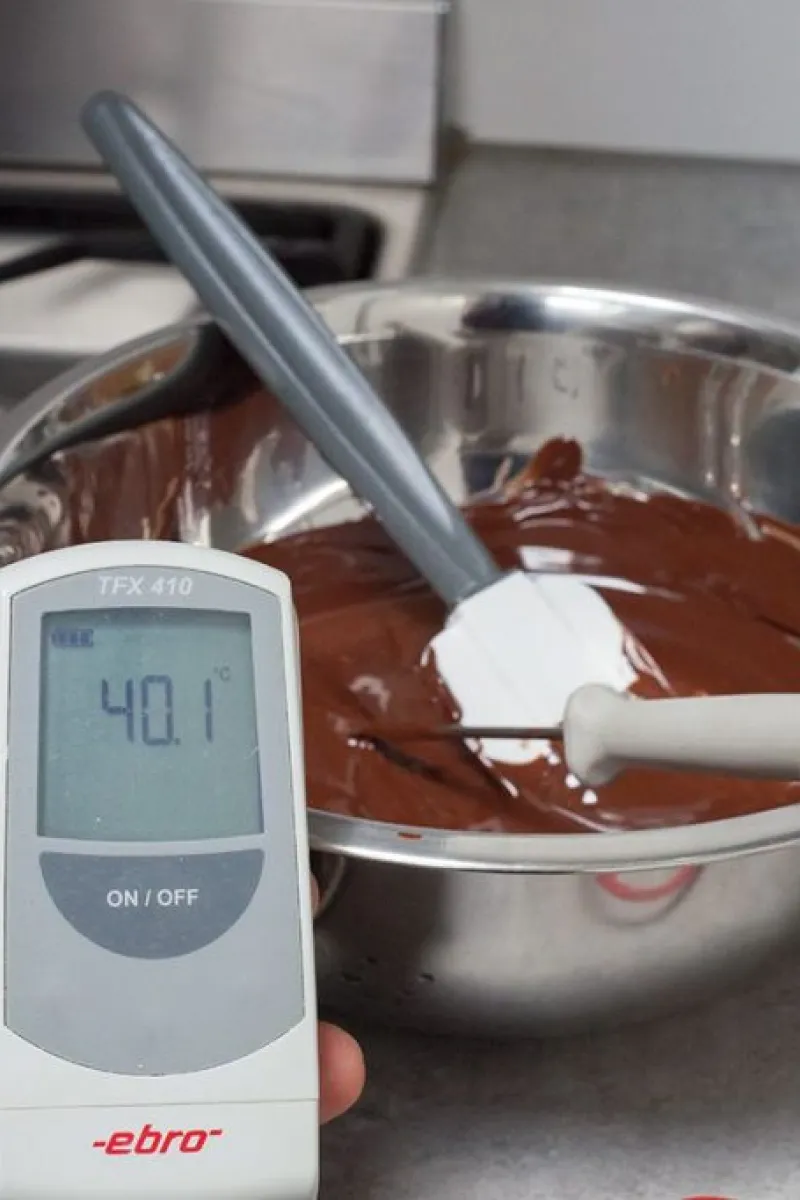
As previously mentioned, the temperature is very important. The reason behind this has to do with crystallization and more, but that's kind of boring so we're not going to talk about that.
The ideal melting temperature for chocolate is between 40 and 45 degrees celsius (104 - 113 degrees fahrenheit). Now for the right crystallization. There are a lot of different ways to do this, but we're using the marble method.
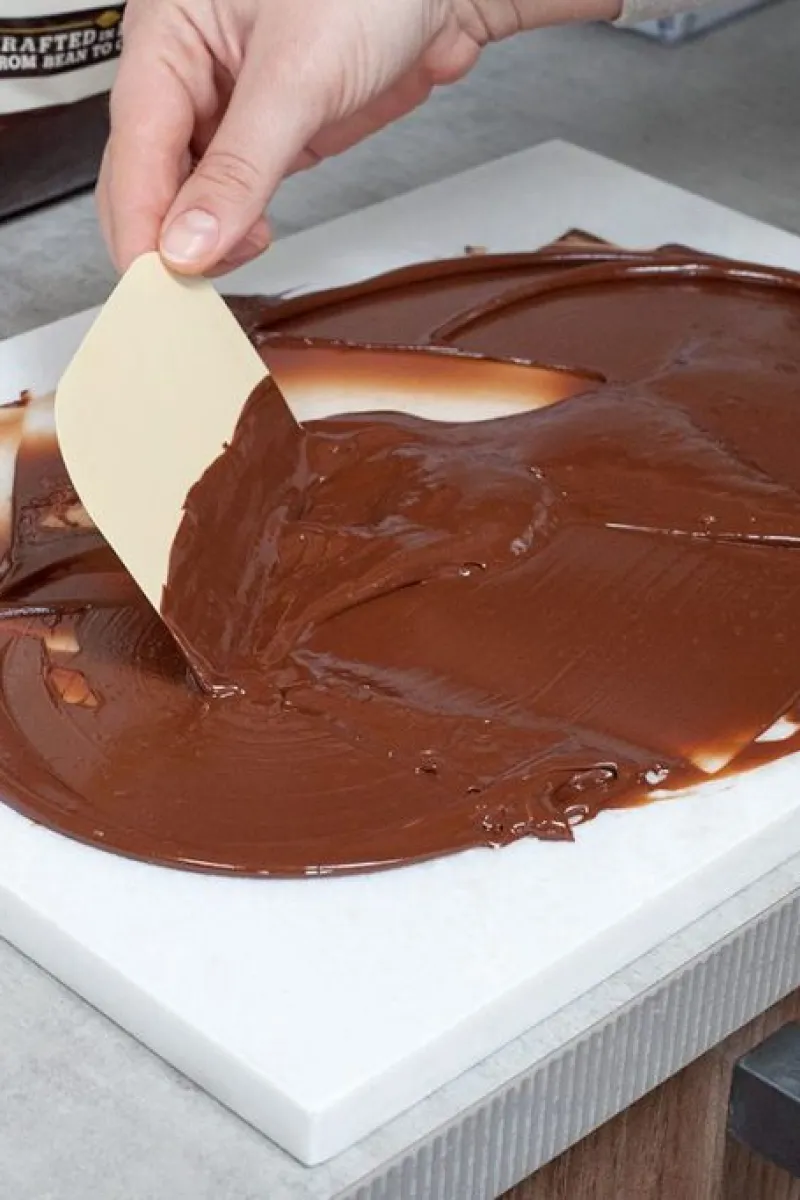
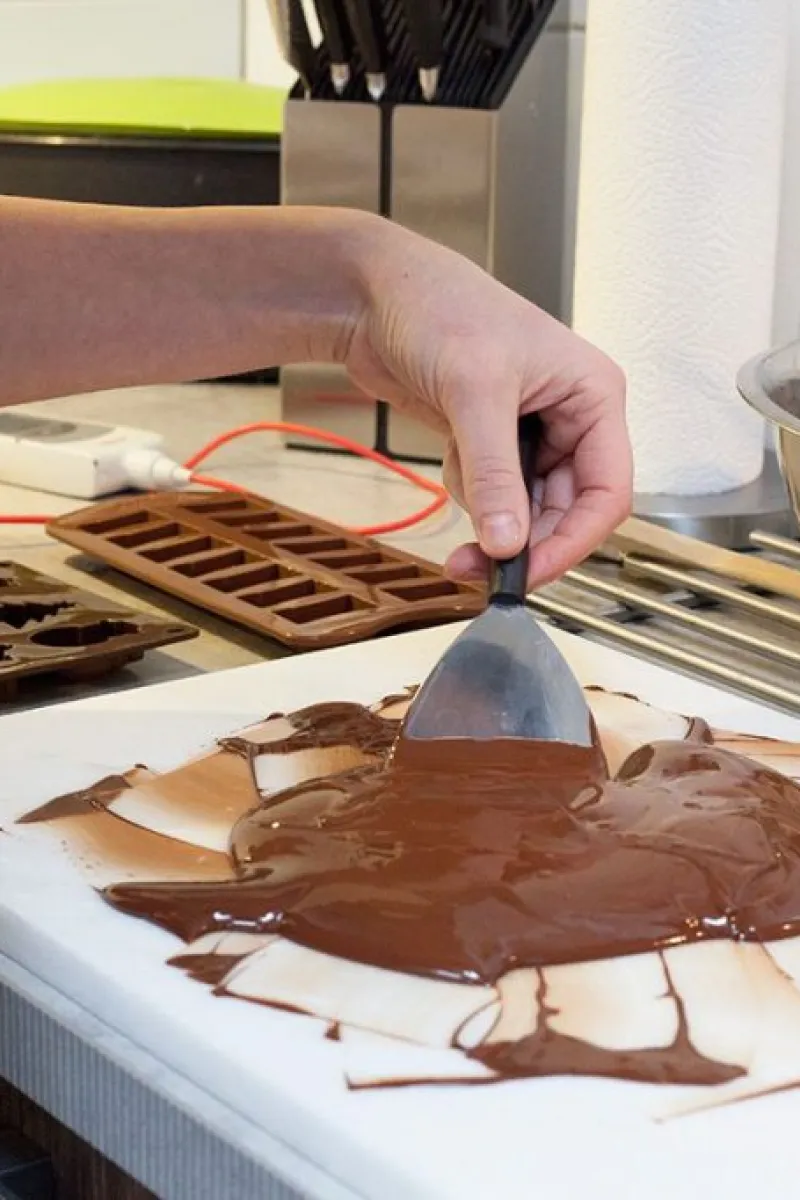
Pour 2/3rd of the melted chocolate on the marble slab and move it around with a dough scraper to cool it off slightly. It has to cool down until it starts to lightly thicken, which won't take long!
Add the slightly cooled chocolate to the warmer chocolate, that was left in the bowl, as fast as possible. The temperature of the combined chocolate shouldn't be lower than 32 degrees velsius (89,6 degrees fahrenheit).
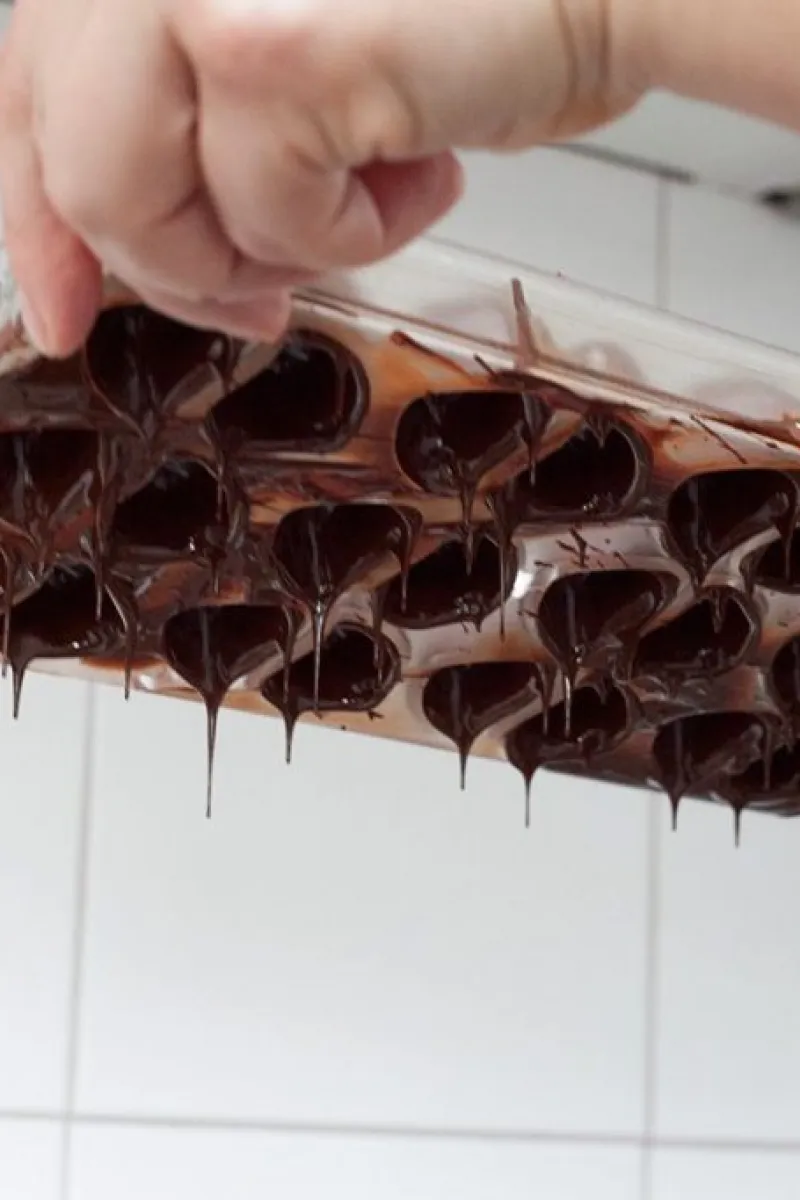
Immediately fill the molds with chocolate and let the excess chocolate run out of them. You can do this by tapping the molds carefully while you flip them over, as seen on the picture below.
Chocolate shouldn't be too thick, so that's why you want to do this for a thin outside. Tapping also helps to remove any air bubbles. Use a palette knife to get rid of the excess chocolate on the mold and clean it as much as possible by carefully scraping it.
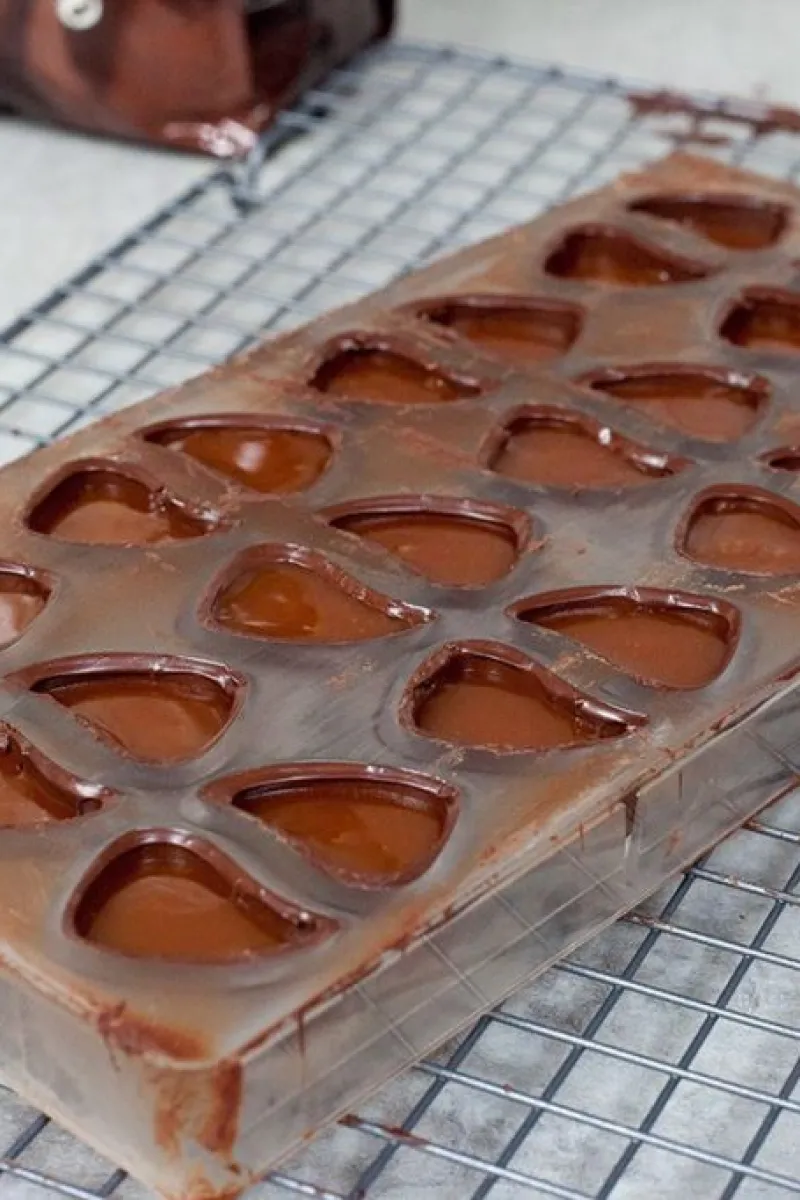
Now let the chocolate harden in a room where the temperature is stable and not too warm, e. G. A basement.
When the chocolate is firm enough and the caramel filling is cooled off completely, you can fill the molds with caramel filling. The easiest way to do this is by using a piping bag (without a nozzle).
Don't fill it all the way to the top, you have to create a chocolate bottom as well. Repeat the step of melting the chocolate and cooling it down on the marble slab, exactly how you did before.
Now you use that melted chocolate for the bottom of the chocolates. Use the palette knife to, again, get rid of the excess chocolate and creating a flat and smooth bottom. Clean the molds and let them get firm again.
If you got any melted chocolate left in the bowl, you can create a lovely and very easy chocolate milk with it. Cause why throw it out? just heat milk and combine it with the leftover chocolate, and that's it!
Now all you have to do is tap the molds on the counter to get the chocolates out. Sometimes the chocolates prefer to stay inside of the molds. There are a lot of reasons for this, such as crystallization and more.
When tapping the molds won't help, you can place them in the freezer for a short while. That mostly helps, try tapping them again after 10 to 15 minutes!
Your email address will not be published. Required fields are marked with *
Since 2014 the tastiest recipes from all over the world! Completely free.
To the content of Ohmydish no rights can be derived in any way.
All rights reserved. Texts on this website may never be copied without permission.